Quick walkthrough for anyone unfamiliar with SANtricity. Names have been changed to protect the innocent, I apologize for the mspaint job but hey, this is a free blog! You get what you pay for!
 |
| 1. SANtricity home page |
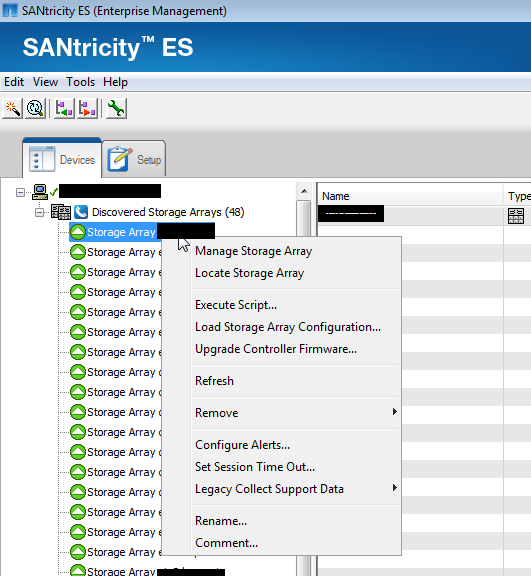 |
| 2. Right click an array. Click manage. |
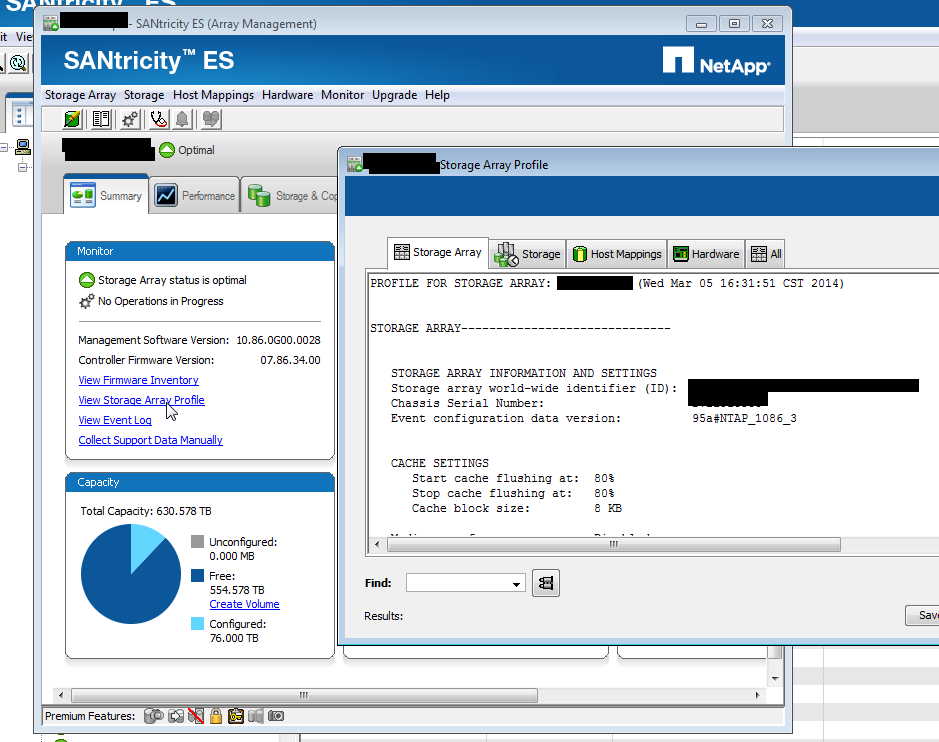 |
| 3. Click “view storage array profile.” You’ll see the chassis SN. These are sometimes missing, sometimes strange combos of letters and numbers, sometimes 70xxxx like FAS systems When we fix the environment, they’ll all be 70xxx. |
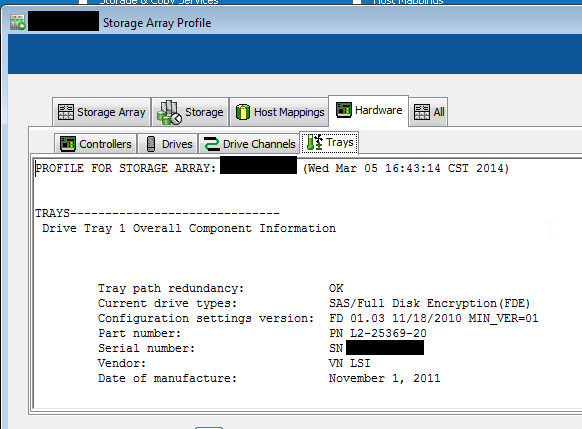 |
4. SANtricity tells you if the system is properly cabled:
"Tray path redundancy" |
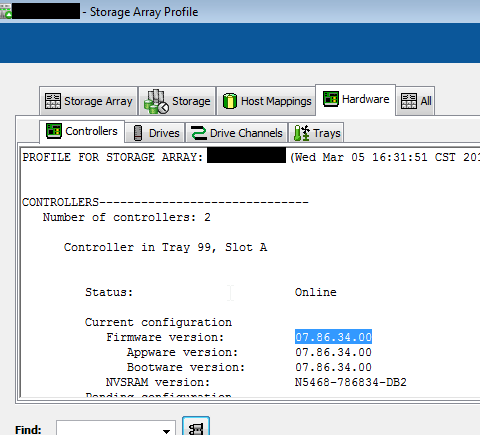 |
| 5. Click hardware tab. You’ll see the controller firmware version. |
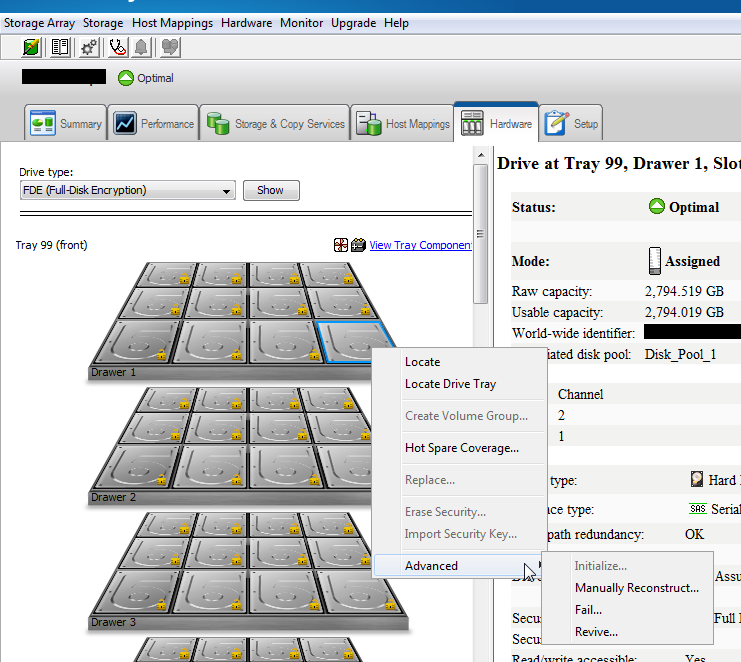 |
6. Exit the view storage array profile. Click
hardware tab.
Right click a disk you see these options. This is
where you manually fail a drive.
Also notice the menu bar at top has changed: there are a ton of options up there,
including performance monitoring. |
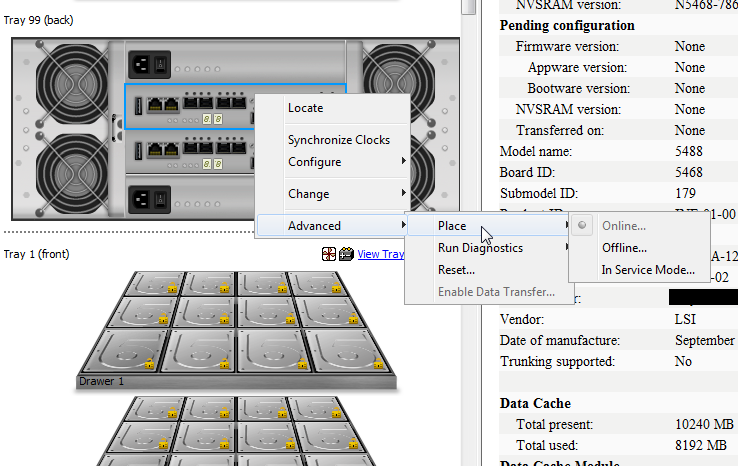 |
7. Scroll down, you’ll see the controllers. Right click one, here are your options,
like locate which blinks lights, or "place" gives you options to “fail over” the
controller, reboot it, etc if it fails.
|
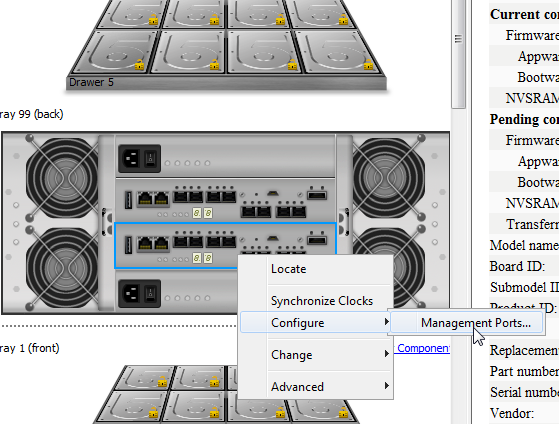 |
| 8. Configure lets you set the management port IP. |
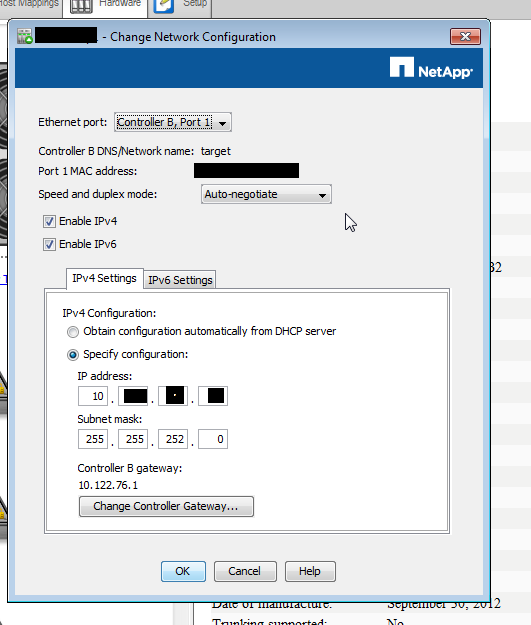 |
| 9. The port config window |
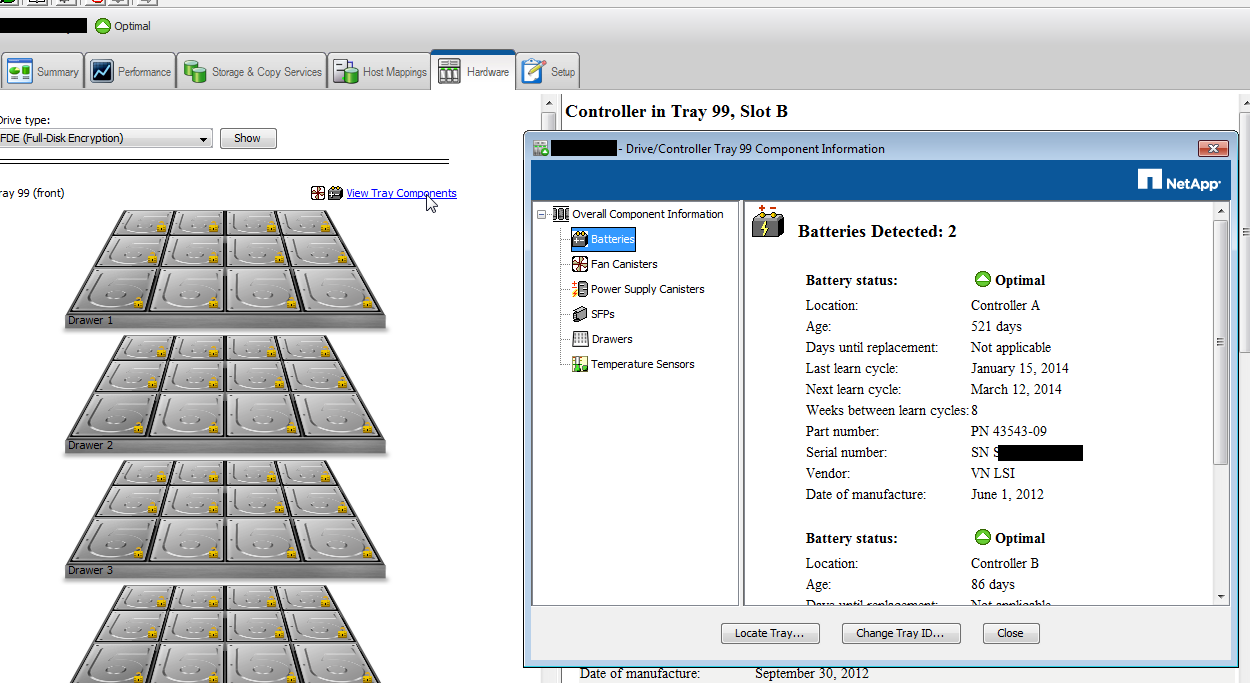 |
| 10. The tray’s components and their status |
No comments:
Post a Comment