Showing posts with label basics. Show all posts

Tuesday, January 23, 2018

Dahua IP Cam Setup

  1. Power: this thing doesn't come with a power source.  Seriously
    1. PoE or 12V input.  Do not do both!
    2. If your camera is outside, do PoE.  Look for something like this to boost your power: Single Gigabit Port PoE+ Injector – 30W – 802.3at https://www.amazon.com/gp/product/B00B4H00EO/ref=oh_aui_detailpage_o00_s00?ie=UTF8&psc=1 
    3. If you're going to do 12V
      1. BV-Tech DC12V 1A UL-Listed Switching Power Supply Adapter for CCTV - 5 Pack - Black
  2. Connecting to your camera
    1. Connect the camera via ethernet to your router/switch
    2. IE works OK but has issues.  Use chrome, it will prompt you to download and use a specific app.
    3. There appears to be no default IP - it's DHCP.  So log into your router and see what IP's are connected to it.  Mine always landed at 192.168.1.14 or .15.
    4. Open a browser to http://
    5. Default password is admin/admin

  1. Basic Setup
    1. Change the password:
      1. System | Account | click the pencil under "modify" | check "modify password"
    2. Connect to wifi:
      1. Network | wifi | check "enable" | double click the correct network and put in password
    3. Set the wifi IP address:
      1. Network | TCP/IP | At "ethernet card" click the dropdown and select "Wireless" | click the "static" button" | enter an IP address that you would like this camera to live on permanently | Click Save
      2. Set a new name for your device - something like "garage" or "front door" | click Save
      3. open the browser to your new IP address
      4. Unplug the ethernet cable
    4. Upgrade to latest code (very important if you don't want to get hacked)
      1. Find your device's latest firmware at https://dahuawiki.com/Firmware_Search_Tool/IP_Camera
      2. Unzip the package
      3. My firmware file was called DH_IPC-ACK-Themis_EngSpnFrn_N_V2.400.0000.15.R.20170804.bin
      4. System | Upgrade | Browse | Select the firmware file
      5. Click upgrade
    5. Set System Time
      1. System | General | Date&Time | Set your GMT time | Save
      2. Set DST here if you want.
  2. Advanced Setup
    1. Enable HTTPS (this is really important, it encrypts your connection to your camera)
      1. Network | Create | fill in all the boxes | change duration to 5000 days | click save
      2. Click install | Click download | Click save
      3. Check the box for "enable HTTPS" | Click save
    2. I set frame rate from 30 to 10 and enabled smart codec. https://www.dahuawiki.com/News/H.264_Plus_vs._H.264

Tuesday, April 1, 2014

SANtricity Walkthough


 Quick walkthrough for anyone unfamiliar with SANtricity.  Names have been changed to protect the innocent, I apologize for the mspaint job but hey, this is a free blog!  You get what you pay for!
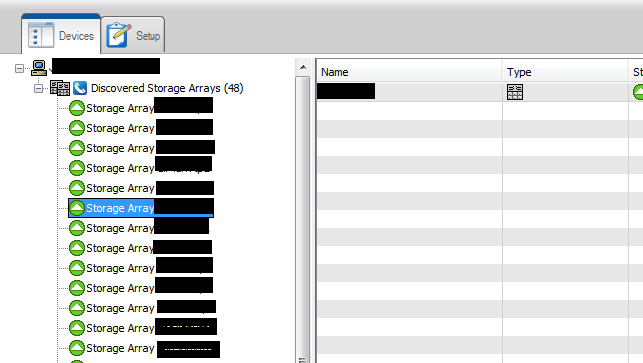

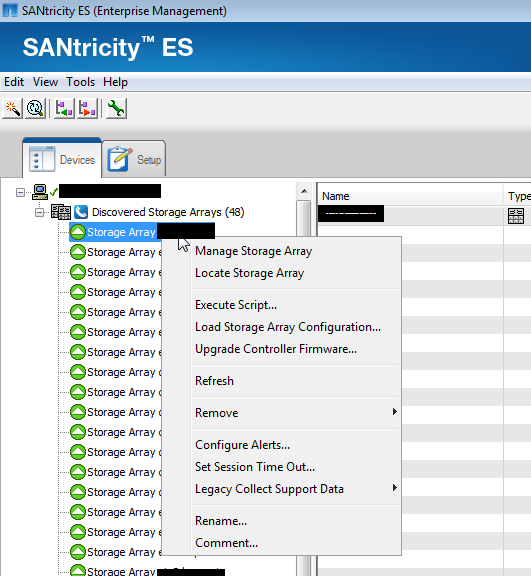
1. SANtricity home page

2. Right click an array.  Click manage.
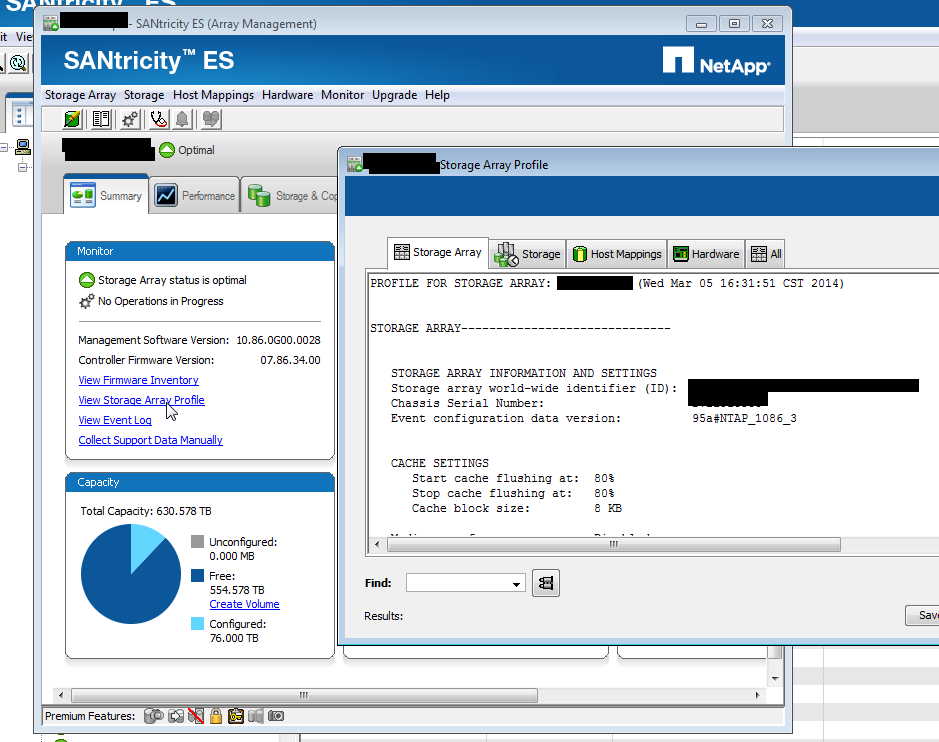
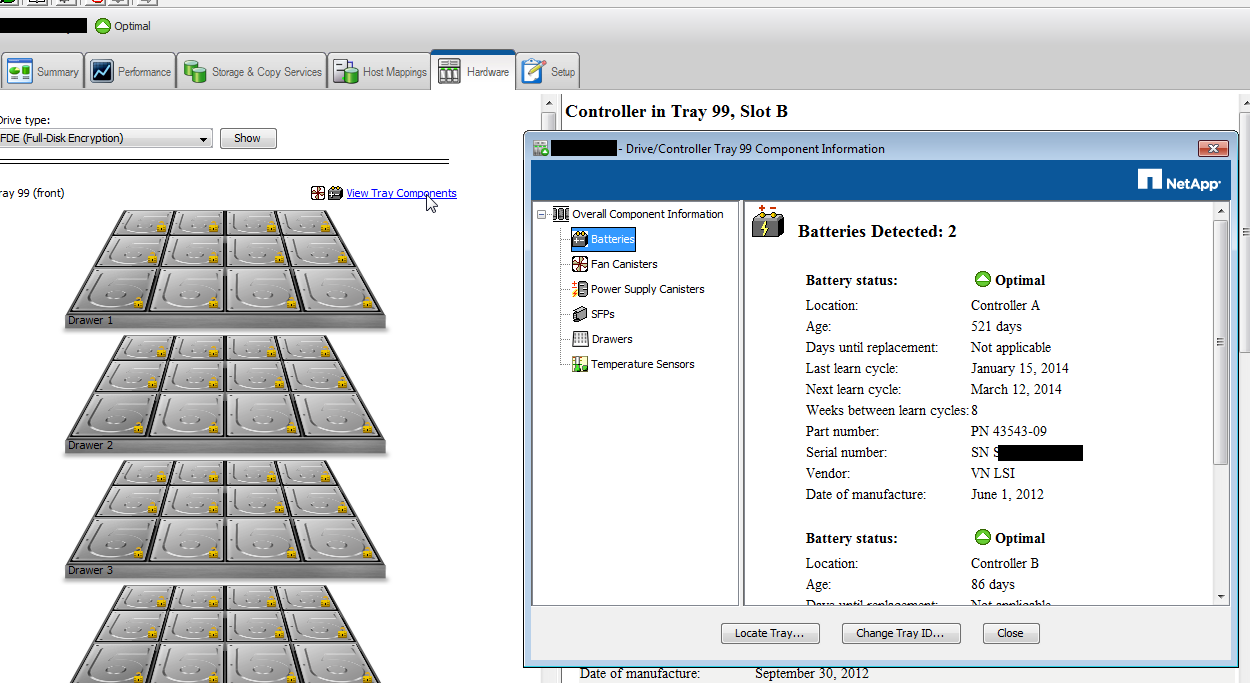
3. Click “view storage array profile.”  You’ll see the chassis SN. These are sometimes missing, sometimes strange combos of letters and numbers, sometimes 70xxxx like FAS systems  When we fix the environment, they’ll all be 70xxx.

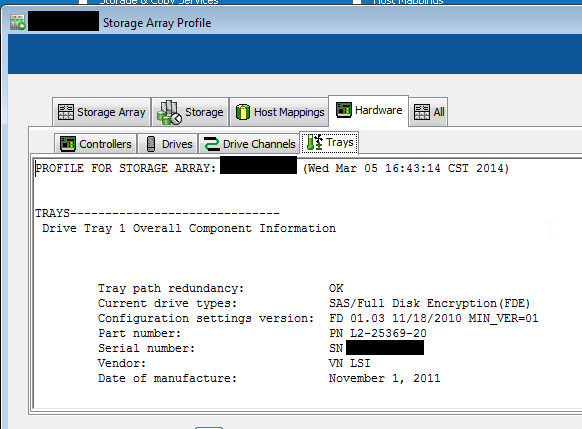
4. SANtricity tells you if the system is properly cabled:
"Tray path redundancy"


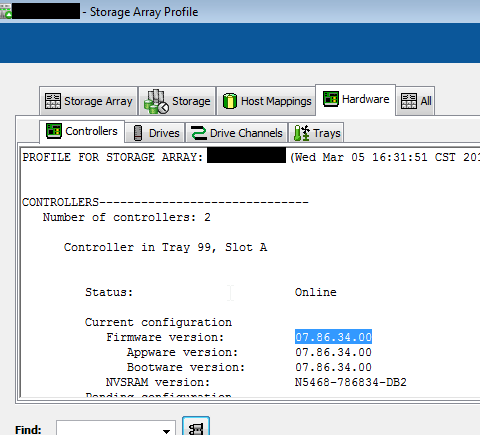
5. Click hardware tab.  You’ll see the controller firmware version.

6. Exit the view storage array profile.  Click hardware tab. 
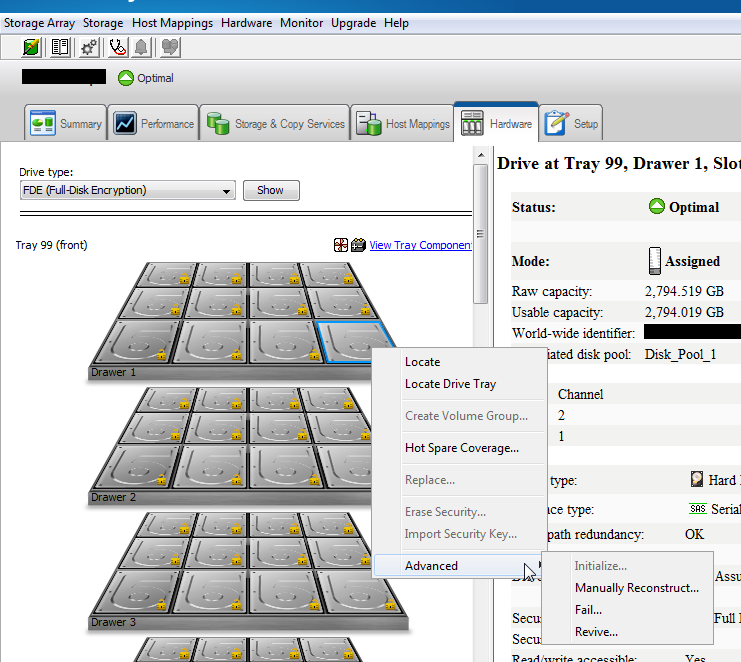
Right click a disk you see these options.  This is where you manually fail a drive.

Also notice the menu bar at top has changed: there are a ton of options up there, 
including performance monitoring.

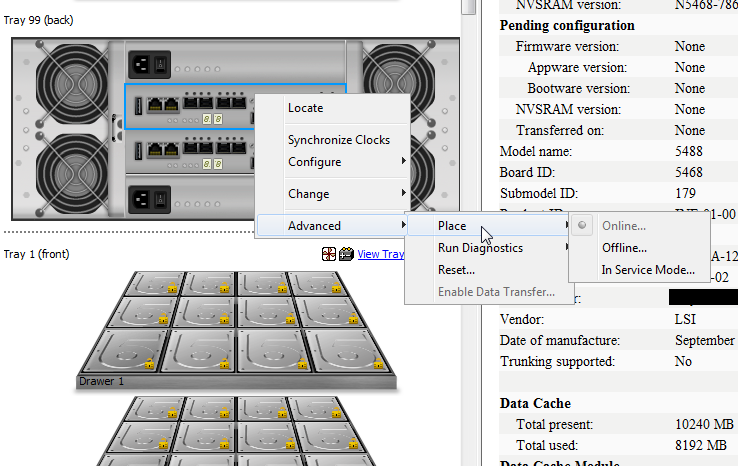
7. Scroll down, you’ll see the controllers.  Right click one, here are your options, 
like locate which blinks lights, or "place" gives you options to “fail over” the 
controller, reboot it, etc if it fails.


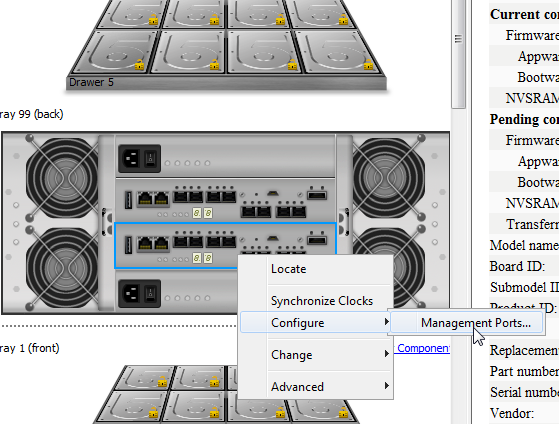
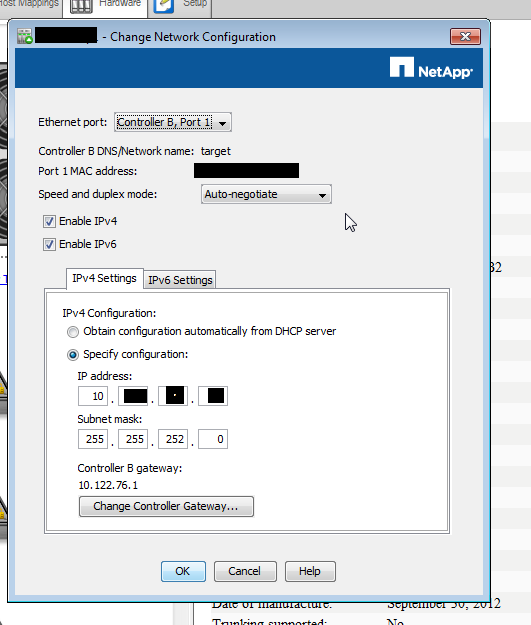
8. Configure lets you set the management port IP.


9. The port config window


10.   The tray’s components and their status